What is the DN42 network?
Decentralized Network 42 (DN42) is a decentralized, end-to-end encrypted network built using VPNs and software/hardware Border Gateway Protocol (BGP). However, unlike traditional VPNs, DN42 does not provide VPN exit services, such as bypassing network censorship or unlocking streaming content. Instead, DN42 aims to simulate the internet. It employs numerous technologies currently used on the internet backbone (such as BGP and recursive DNS) to effectively simulate a real network environment.

Via Lan Tian’s Blog
Why DN42
Routing Experiment
Participating in dn42 is primarily useful for learning routing technologies such as BGP, using a reasonably large network (> 1500 AS, > 1700 prefixes).
Since dn42 is very similar to the Internet, it can be used as a hands-on testing ground for new ideas, or simply to learn real networking stuff that you probably can’t do on the Internet (BGP multihoming, transit). The biggest advantage when compared to the Internet: if you break something in the network, you won’t have any big network operator yelling angrily at you.
Connect hackroom
dn42 is also a great way to connect hacker spaces in a secure way, so that they can provide services to each other.
Have you ever wanted to SSH on your Raspberry Pi hosted at your local hacker space and had trouble doing so because of NAT? If your hacker space was using dn42, it could have been much easier…
Via Home (dn42.dev)
Register DN42
Require
- Have a Linux virtual machine (WSL is sufficient for Windows)
- Familiarity with Linux commands and basic networking skills
Official Tutorial:https://dn42.dev/howto/Getting-Started
First, sign up for a git account (https://git.dn42.dev/user/sign_up). Once activated, fork the repository (https://git.dn42.dev/dn42/registry) and save it locally. Then clone it locally.
1 | git clone https://git.dn42.dev/icecliffs/registry.git |
- Then create a new file
[uppercase nickname]-MNTunderdata/mntner,catch Master Tony.
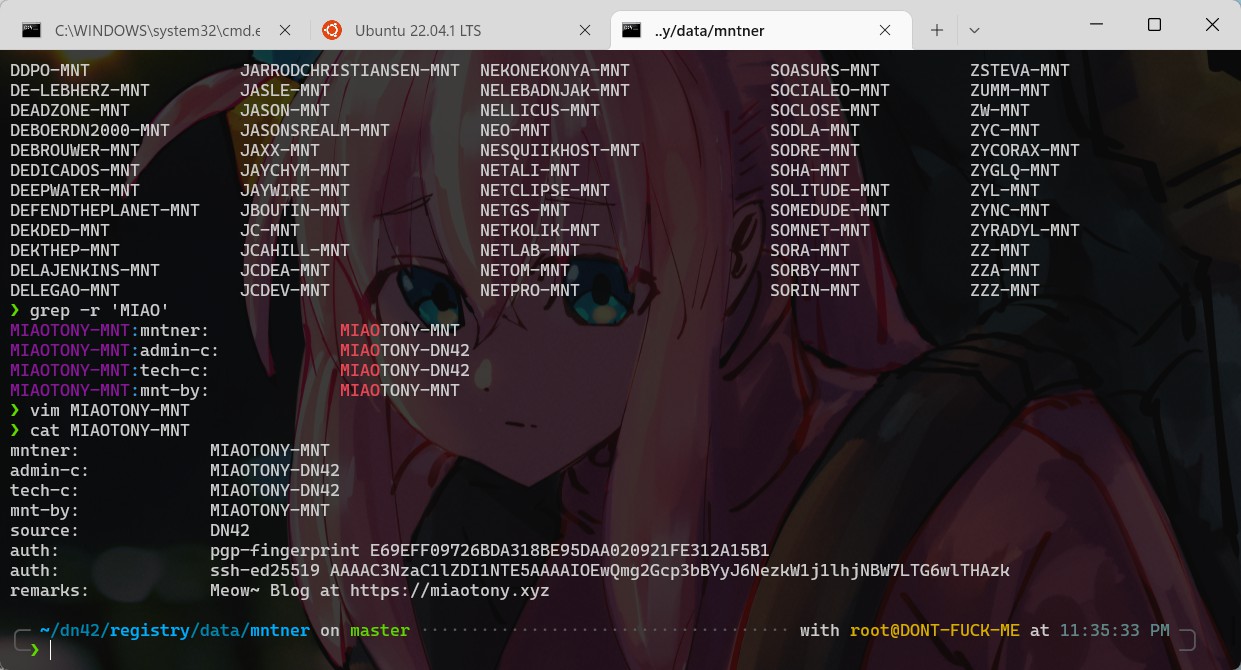
Contents
mntner: Stands formaintainer, indicating the name of this account, which is the same as the file name.admin-c: Stands foradmin contact, which needs to point to the person file created later, typically[nickname]-DN42.tech-c: Stands fortech contact, which needs to point to the person file created later, typically[nickname]-DN42.mnt-by: Stands formaintain by, which points to the account itself, typically[nickname]-MNT.source: Fixed toDN42.auth: Your personal authentication information. Two types are generally accepted: GPG public key and SSH public key.
Via DN42 Experimental Network Introduction and Registration Tutorial
1 | mntner: ICECLIFFS-MNT |
- Create a file named
[Uppercase Nickname]-DN42underdata/person
The content is:
person: Your nickname.e-mail: Your email address.contact: Optional, other contact information for you, such as IRC, Telegram, etc.nic-hdl: The NIC handle, which points to the file itself, the same as the file name,[nickname]-DN42.mnt-by: The maintainer, which points to your previous mntner file,[nickname]-MNT.source: Fixed toDN42.
1 | person: rYu1nser |
- Next, you need to assign an ASN number. Pick any one you like (range: 4242420000 - 4242423999). For example, mine is
AS4242422291. As of 2022/12/3 00:00:00, there should be this many numbers.

1 | aut-num: AS4242422291 |
I’m too lazy to write the rest of the steps, so I recommend checking out Lantian’s guide. I followed his instructions.
Guidelines: DN42 Experimental Network Introduction and Registration Tutorial (Updated June 2022) | Lan Tian @ Blog
My IPv6: fd6d:acf4:0742::_48
My IPv4: 172.23.244.0/26
Regarding IP ranges, you can find DN42’s unassigned IP ranges here: https://explorer.burble.com/free#/
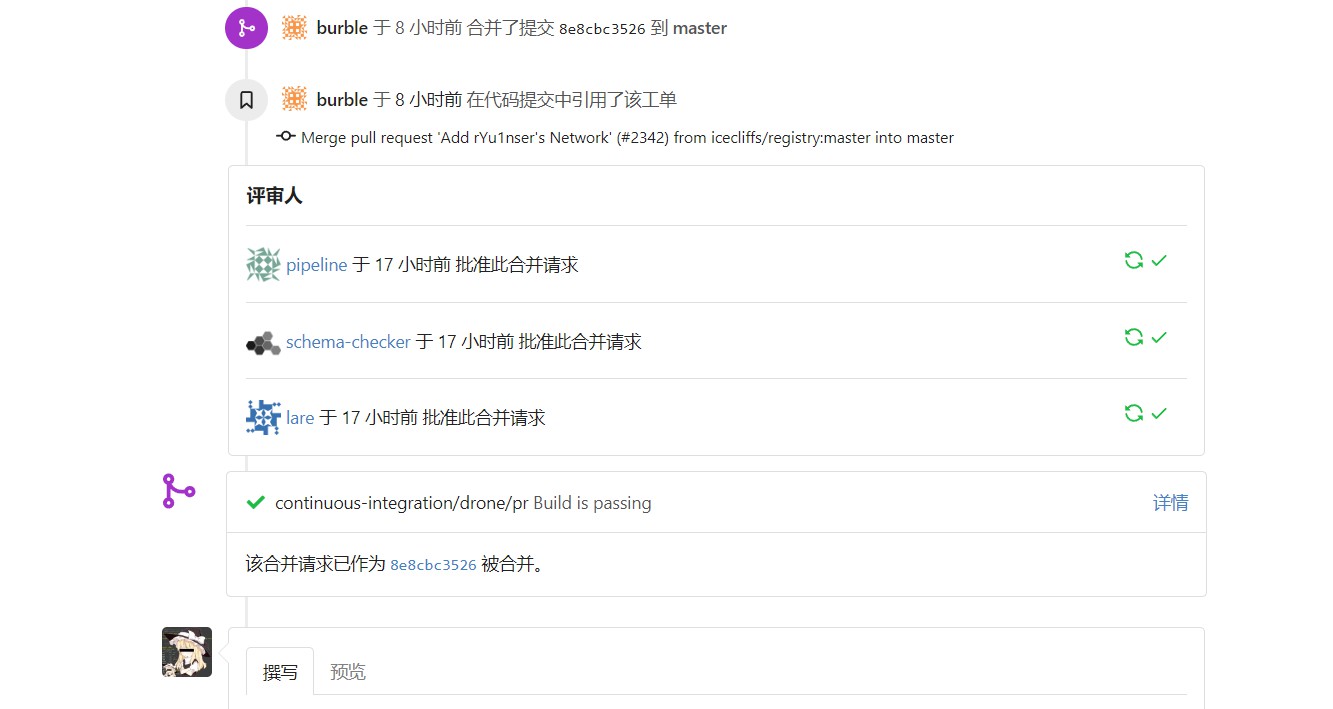
My PR is pretty terrible :D: https://git.dn42.dev/dn42/registry/pulls/2342
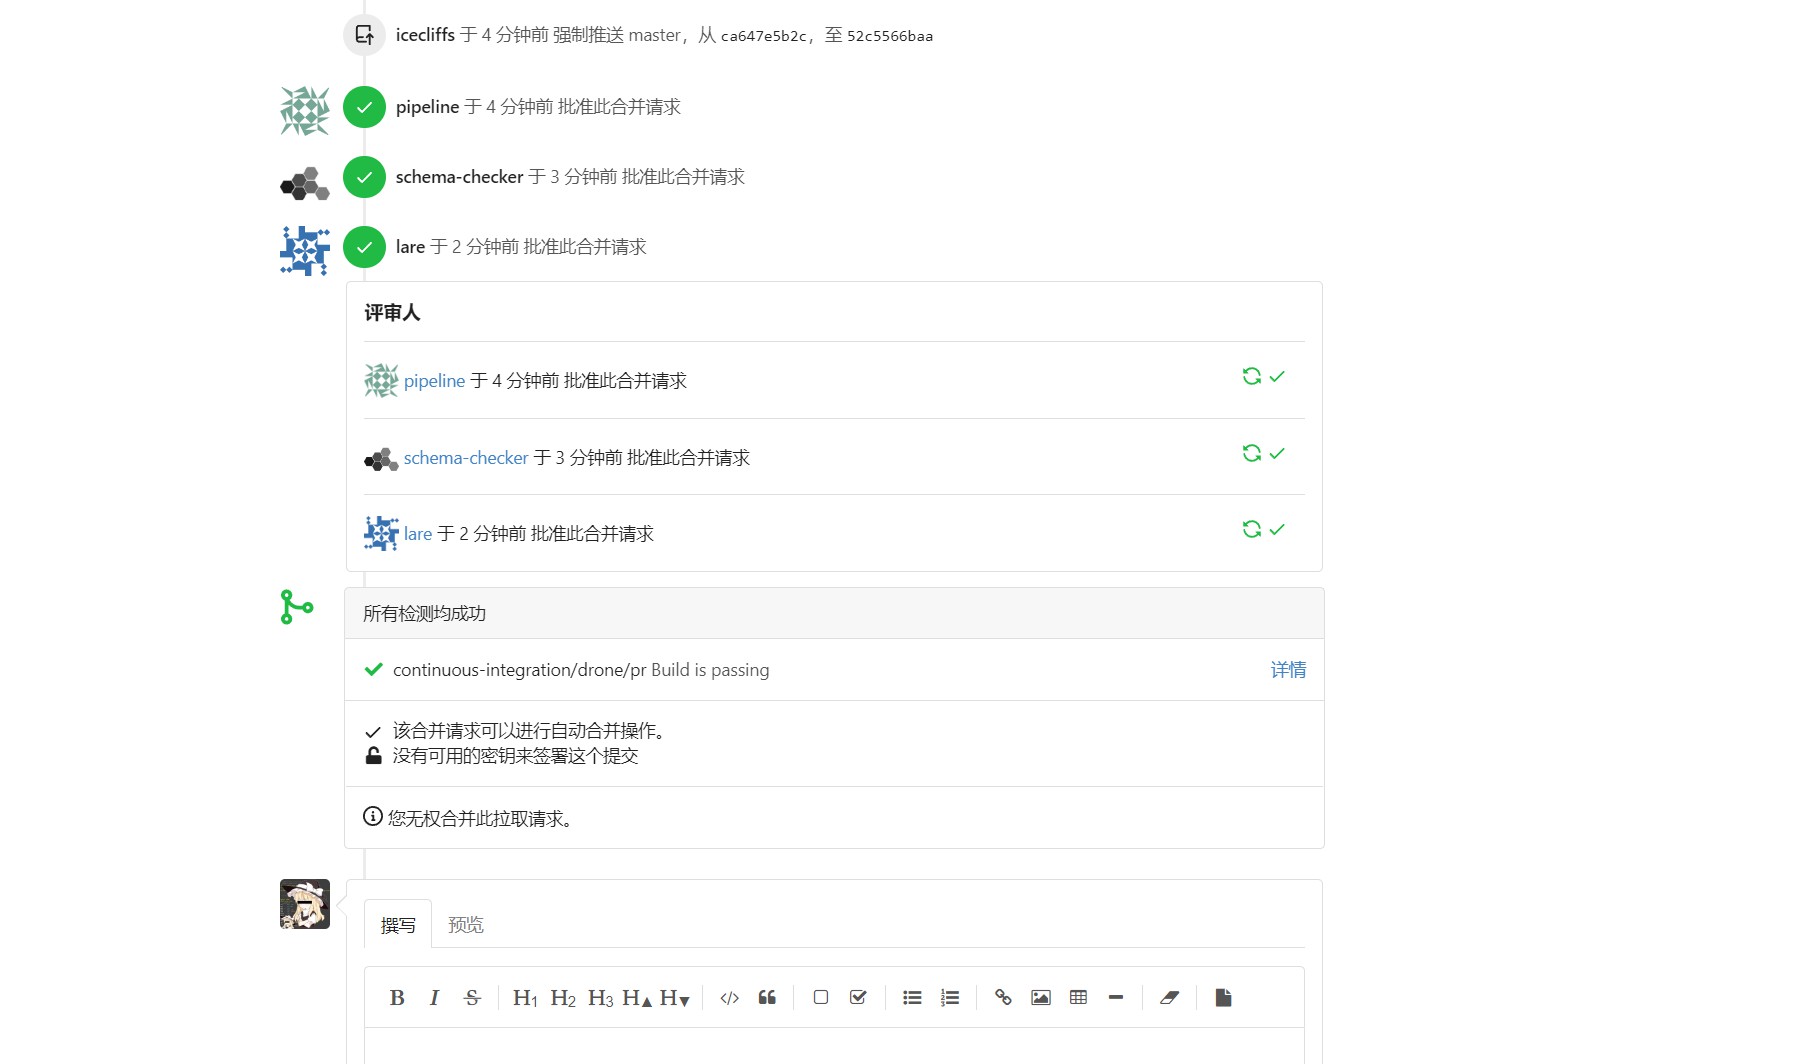
Then wait patiently until to merge you.
1 | [NOTE] ## Scan Started at 2022-12-03 18:51:34 |
Establishing a Peer
Since DN42 simulates the entire internet, there aren’t any official servers for us to connect to. We need to connect our own server to DN42.
Before configuring, add a few lines to sysctl.conf. See https://dn42.dev/howto/networksettings
Make sure to disable
rp_filterand enable forwarding.The first rule of dn42: Always disable
rp_filter.The third rule of dn42: Allow ip forwarding!
Remember to disable the firewall, otherwise something unforeseen may happen
1 | net.ipv4.ip_forward=1 |
execute sysctl -p
Finding Peer Nodes
Go directly to: https://dn42.us/peers
Or check other people’s blogs/websites for the same.
For example, mine:
1 | Name : ICECLIFFS-NET |
Establishing a wireguard
We recommend referring to the official tutorial: https://dn42.dev/howto/wireguard
First, generate public and private keys.
1 | wg genkey | tee privatekey | wg pubkey > publickey |
If the command is not found, it is because you have not installed Wireguard
1 | apt-get update |
Then change the configuration under /etc/wireguard/
1 | # tunnel.conf |
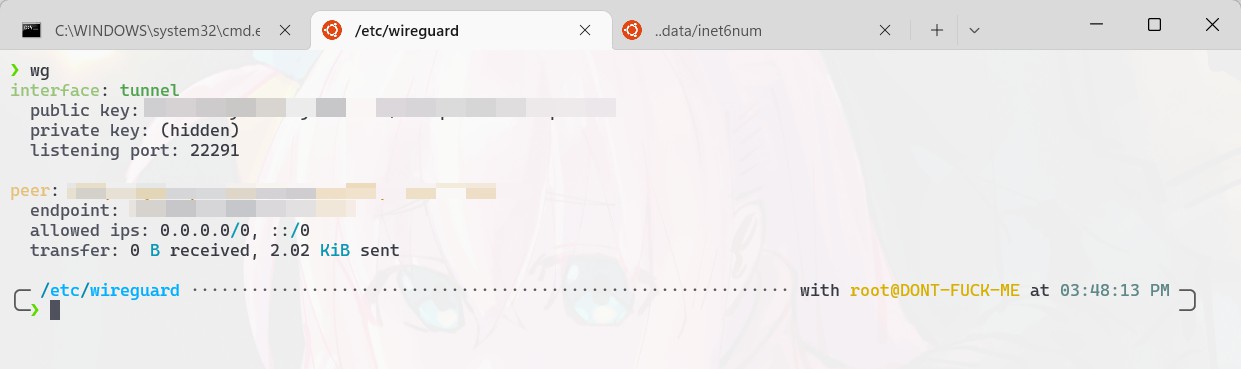
After making the changes, simply wg-quick up [configuration file] and type wg to see if the connection is successful. If so, the “[label]Transfer[/label]” message will appear.
Establishing a BGP
It is recommended to follow the official website
Install
1 | wget -O - http://bird.network.cz/debian/apt.key | apt-key add - |
It is recommended to use the template directly https://wiki.dn42.us/howto/Bird2
Replace
<OWNAS>with your autonomous system number, e.g.4242421234Replace
<OWNIP>with the ip that your router is going to have, this is usually the first non-zero ip in your subnet. (E.g. x.x.x.65 in an x.x.x.64/28 network)Similarly, replace
<OWNIPv6>with the first non-zero ip in your ipv6 subnet.Then replace
<OWNNET>with the IPv4 subnet that was assigned to you.The same goes for
<OWNNETv6>, but it takes an IPv6 subnet (Who’d have thought).Keep in mind that you’ll have to enter both networks in the OWNNET{,v6} and OWNNETSET{,v6}, the two variables are required due to set parsing difficulties with variables.
Then replace it as above (/etc/bird.conf)
1 | ################################################ |
Next, configure ROA (Route Origin Authorization). This must be configured properly. You can write a crontab` to let it download files regularly.
The example config above relies on ROA configuration files in /etc/bird/roa_dn42{,_v6}.conf. These should be automatically downloaded and updated every so often to prevent BGP highjacking, see the bird1 page for more details and links to the ROA files. Note: edit the links to replace roa_bird1 to say roa_bird2 if using the cron jobs listed on that page.
See: https://wiki.dn42.us/howto/Bird#route-origin-authorization0
Setting up Peers
Please note: This section assumes that you’ve already got a tunnel to your peering partner setup.
Create a new folder here
1 | # mkdir -p /etc/bird/peers |
For details, see: https://wiki.dn42.us/howto/Bird2
After completing all configurations, start Bird with bird -c /etc/bird.conf
Check the connection status with birdc show protocol
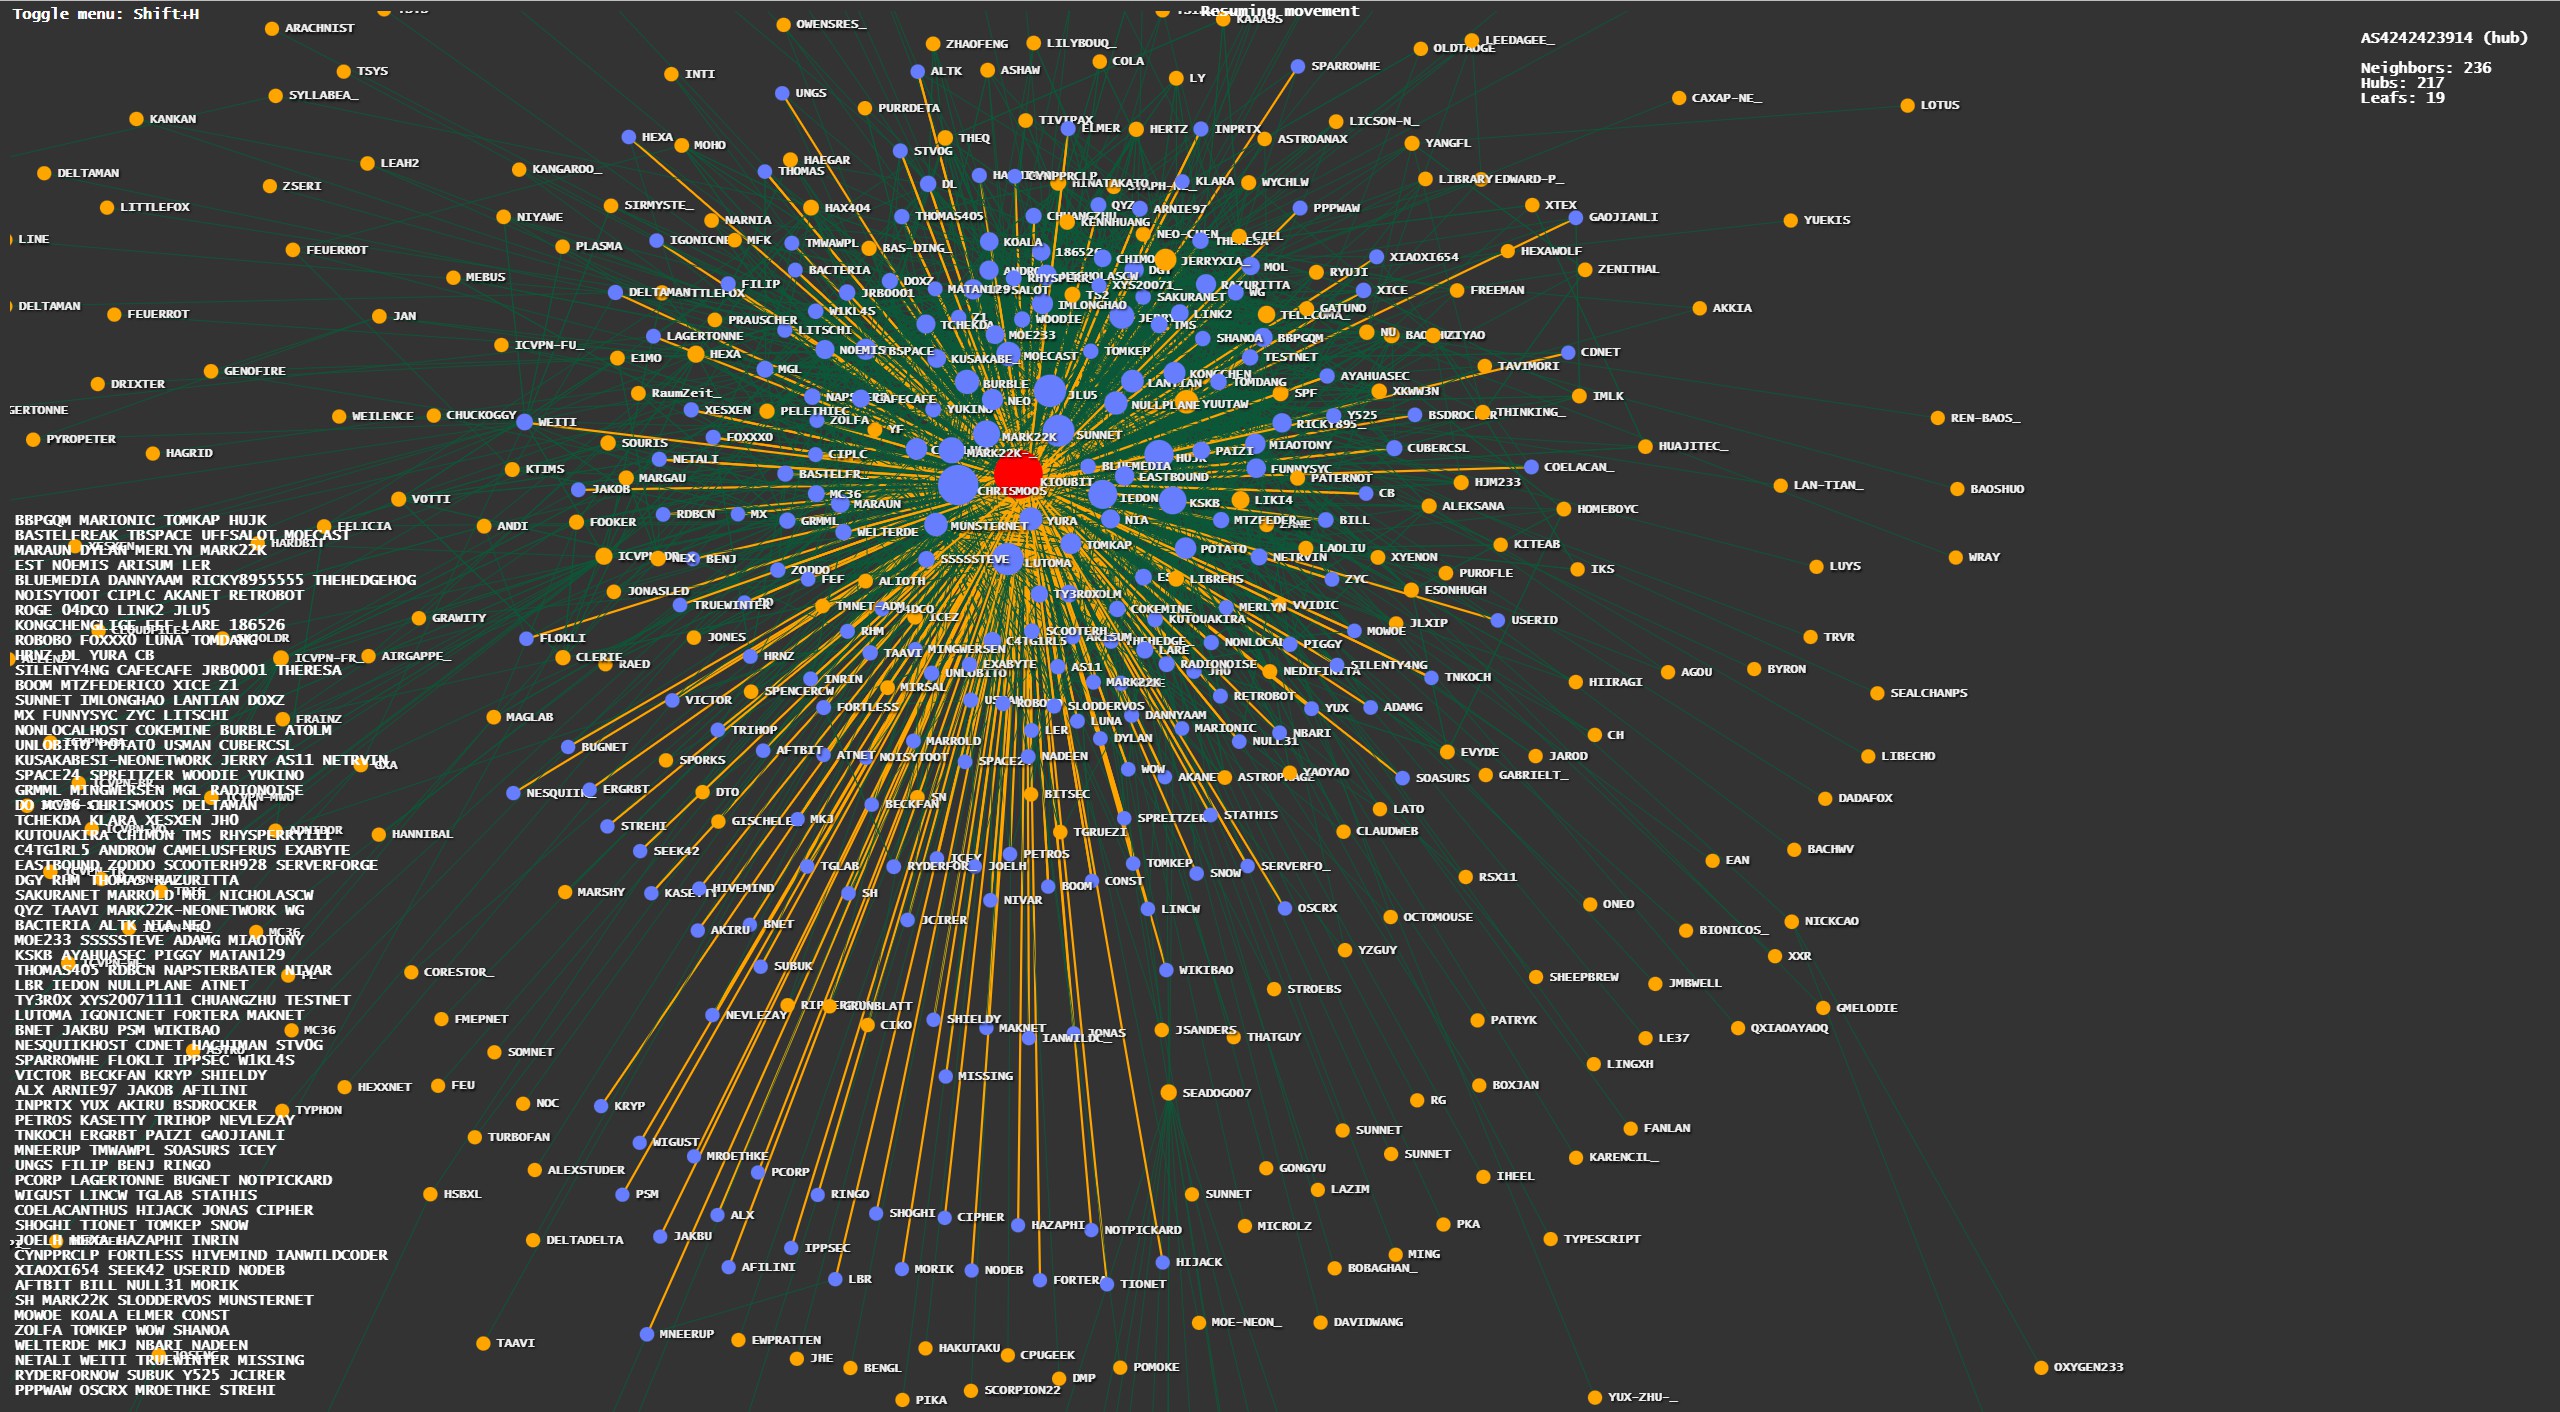
Graphical

https://dn42.jh0project.com/map

References
https://miaotony.xyz/2021/03/25/Server_DN42
https://lantian.pub/article/modify-website/dn42-experimental-network-2020.lantian/


